Tree Trunks and Branches
Painting trees can be one of the most rewarding aspects of landscape art. Understand how to depict tree trunks and branches convincingly using this guide.
Viewing Distance
The first step in painting trees is to assess the viewing distance - far, middle or near, as it determines the level of detail and the approach required.
Far Distance
At this distance, trees can be represented as abstract shapes of light and dark. Focus on suggesting their volumetric forms without detailing the foliage. Atmospheric perspective plays a crucial role; colors should be muted, and the contours of the trees may appear blurred and indistinct.
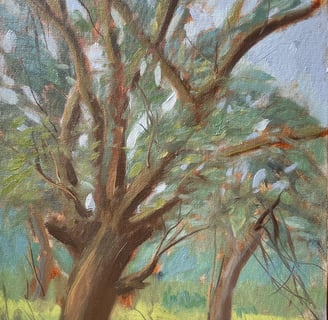
Middle Ground
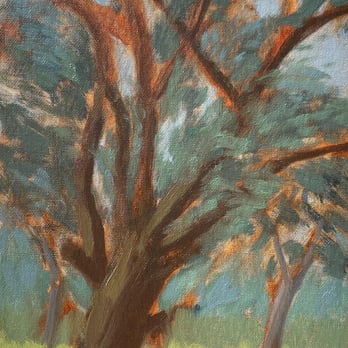
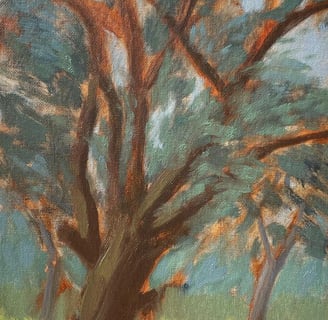
Here, it is essential to show the major trunks and branches. Use simplified shapes and colors for the foliage to create a 3-D effect. Also, indicate what lies in front of and behind the trunk and major branches. This will add depth to your work.
Near Ground
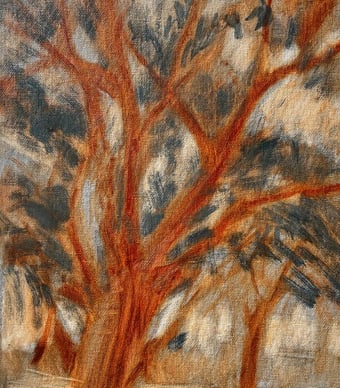
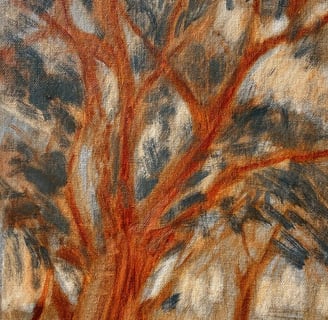
Near-ground trees allow for a more detailed and character-driven approach. Think of this as painting ‘a portrait’ of the tree—capturing its unique qualities. A close-cropped view can immerse the viewer in the scene, conveying the tree's grandeur and inviting them into its embrace.
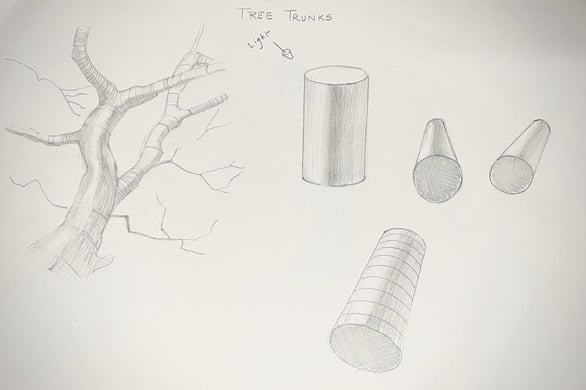
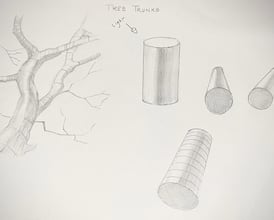
Drawing Tree Trunks
To practice drawing tree trunks, start with a few photo references. Use graphite and paper to draw, the way it has been done in the first photograph at the top of this post. Here are some steps to develop your skills:
Begin with Simple Shapes:
Before drawing tree trunks, practice with simple cylinders. Imagine light coming from one direction and visualise the interplay of light and shadow.
Explore Different Angles:
Visualise and sketch a cylinder from various angles—tilting upwards and turning away from you. This exercise will help you understand how perspective affects form.
Connect Forms in 3-D Space:
Try combining multiple cylinders oriented in different directions to create the illusion of a tree trunk in three-dimensional space.
Drawing Branches
When it comes to branches, think of them as cylinders radiating from the centre of a wheel, much like spokes. Here’s how to master their depiction:
Light and Shadow Interaction:
Consider the direction of light; branches angled toward you will appear darker since you view them from below. Conversely, branches moving away from you will catch more light and should be painted lighter.
Orientation:
Ensure that the orientation of the branches is consistent with their natural growth patterns, adding to the realism of your painting.
Cross Contour Drawing
Cross contour drawing is an effective technique to visualise the three-dimensional quality of tree trunks - or just any 3-D object. By drawing lines around and over the form, you can better grasp how light and shadow interact with the surface.
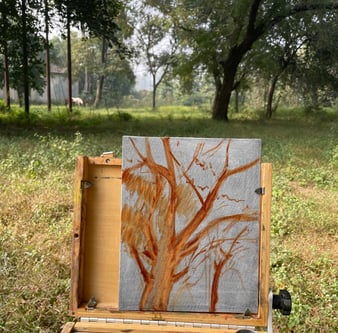
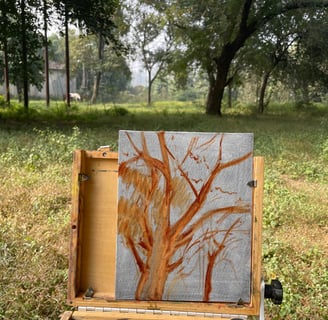
Conclusion
Once you do this exercise, you can easily apply the same principles to create similar effects using paint. See how I developed this painting step-by-step. Visit my gallery to view the finished painting. Happy painting!