Still Life Painting in Traditional Techniques
Still life painting is a great way to explore form, color, and light. Traditional techniques add depth and realism to your artwork. We will follow ten easy steps.
Step 1: Look for Simple Objects in Your Home
Find everyday items like fruits, flowers, or a coffee cup that you find interesting. Choose objects with different shapes, colors, and textures to add more variety and excitement.
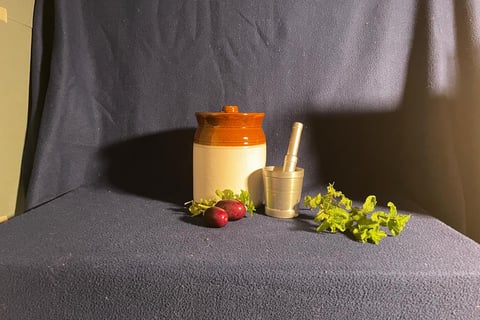
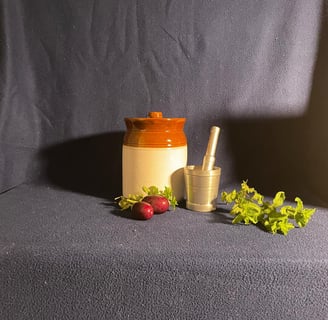
Step 2: Set Up the Still Life
Arrange your objects thoughtfully in a space you control. Use an interesting piece of cloth or a background on which to place the objects. Pay attention to the composition - follow your intuition here!
Step 3: Arrange Unidirectional Lighting
Use a single light source to create shadows and highlights. Side or overhead lighting can add drama to your scene. Drama is what will attract viewers to your painting!
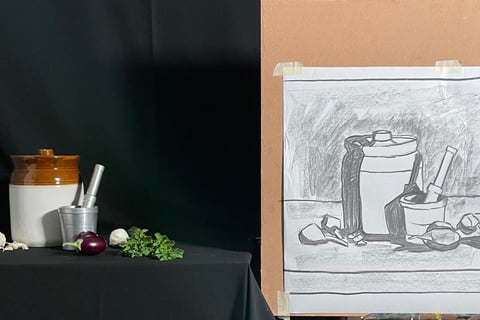
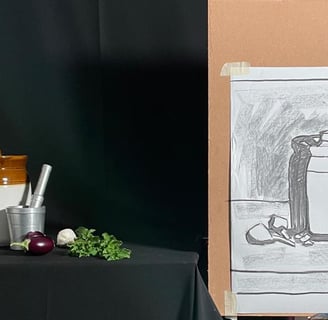
Step 4: Create a Preparatory Drawing
Draw your still life on a paper that is the same size as your canvas. Focus on the composition and placement of objects. Work with graphite and clearly separate the light and shadows. Work on the drawing till it reaches perfection or to your satisfaction. Remember, this is a very important and foundational step for your finished painting - you need to get this right!
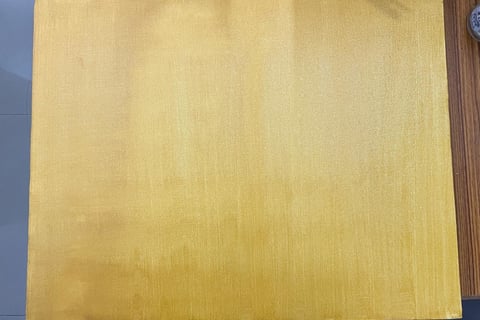
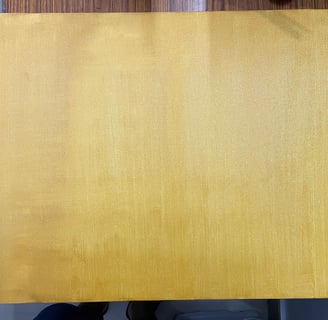
Step 5: Imprimatura
Apply a thin wash of neutral or earth-toned color over your canvas. This sets the mood for you to work with layers on top.
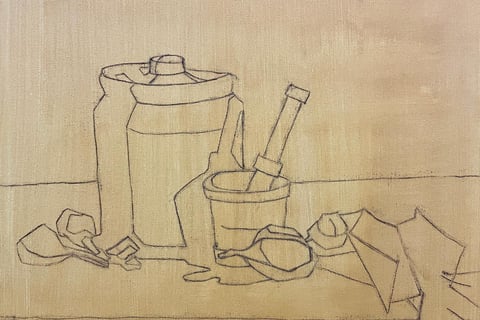
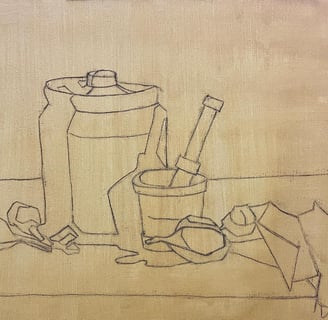
Step 6: Transfer the Drawing onto Your Canvas Using Charcoal
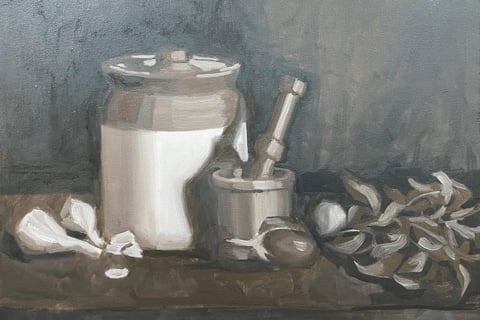
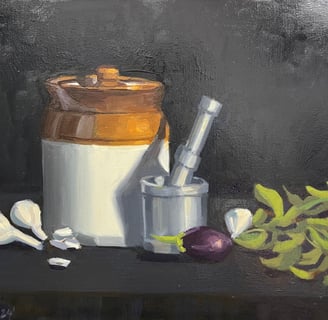
Use charcoal to lightly transfer your sketch to the canvas. To transfer the drawing onto the canvas - do the following. First, place a sheet of tracing paper on the drawing and trace over the lines that indicate the contour and shadow lines of the drawing. Next, flip the tracing paper and go over the traced out lines on the reverse side with the help of charcoal, preferably a stick of vine charcoal. Now, again flip the tracing paper, place it on the canvas and go over the lines for a third time using a sharp pencil or ballpoint pen. Apply much pressure with your pencil or pen while doing this. Make sure that you don’t leave out any lines. Once done, remove the tracing paper - you have now transferred the drawing on to your canvas. It should look like this.
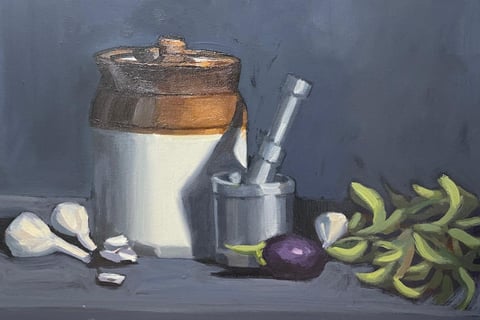
Step 7: Grisaille
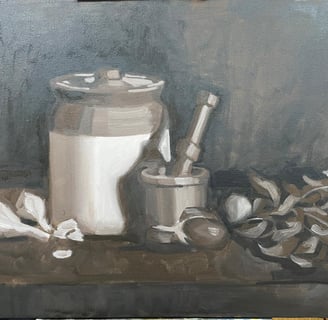
Paint using burnt umber and some fast-drying white. I used Winsor & Newton’s Griffin Alkyd Titanium white for this. Pay attention to the separation of light, shadows and clear turning of forms. Let this dry overnight before you begin the next step.
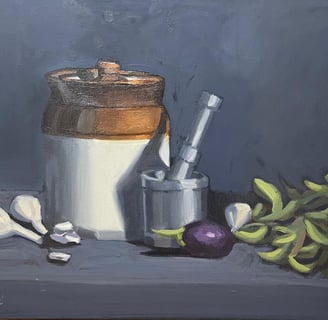
Step 8: First Color Pass
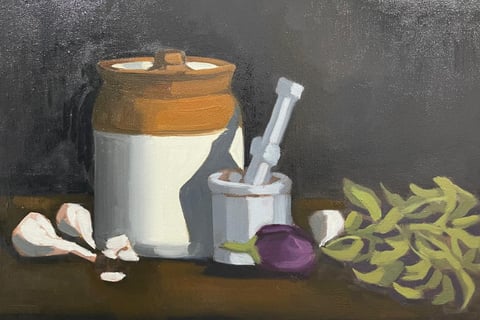
First, prepare the canvas by giving a thin coat Linseed Oil. Then add local colors, focusing on mid-tones. Use a thin layer of paint.
Step 9: Second Color Pass
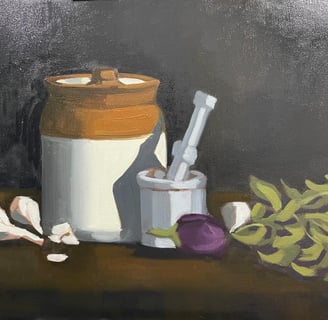
Once dry, oil out the painting again using a thin coat of Linseed Oil. Then, add a second, thick layer of color. Emphasise highlights and shadows to refine your shapes.
Step 10: Final Glaze
Apply a light glaze to unify the colors. This final layer can enhance brightness and tie your painting together.
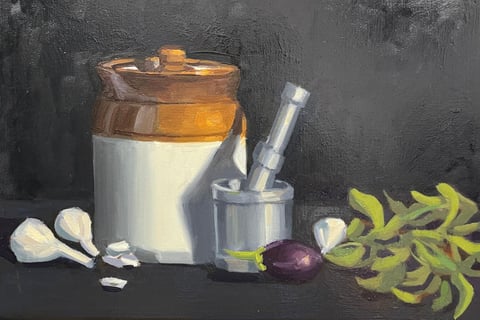
Creating a still life with traditional techniques helps improve your painting skills and express your vision. Follow these ten steps to craft a beautiful piece. Enjoy the process and let your artwork reflect depth and charm! Happy painting!